문제 23
사용중인 계정을 일시적으로 락 걸리게 하기
su
123456
passwd -l php
* 해제하기 : passwd -u php
문제 21
계정 추가 competition
호스트 추가 bind
호스트 추가 hosting
index.html > index.php
http://competition.st.kr 접속 가능하게 만들기
index.html 삭제
index.php 삭제
rm -rf index.php
rm -rf index.html
[Directory""]
Options None
Order Allow,Deny
Order from all
Deny from 100.100.100.1/24
Deny from 100.100.100.1/32
[/Directory]
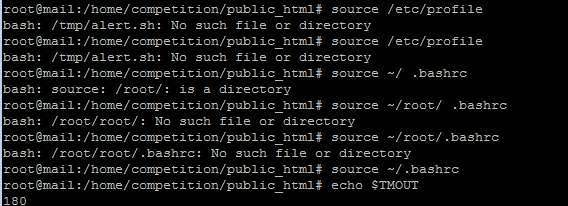
문제11
자동 로그아웃 3분으로 처리
 문제6
칼리에서 메일오는 것을 차단하기
su
12346
cd /home/master
nano /etc/mail/access
> st.kr 주석 처리
> 100.100.100.1 REJECT 처리
makemap hash /etc/mail/access < /etc/mail/access
systemctl restart sendmail
systemctl restart dovecot
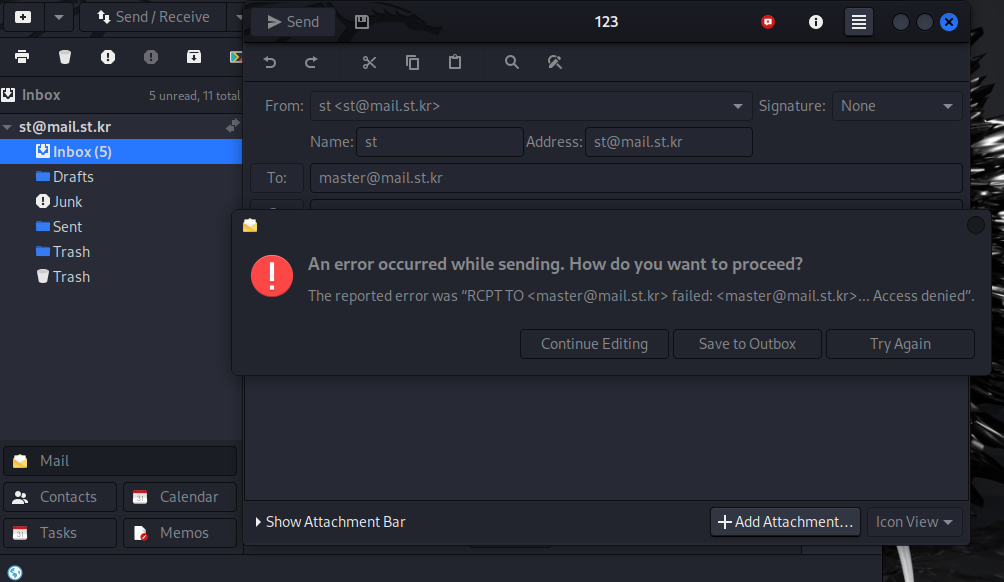
칼리에서 마스터로 메일보내면 차단 메세지가 나타나면 성공
문제6
칼리에서 메일오는 것을 차단하기
su
12346
cd /home/master
nano /etc/mail/access
> st.kr 주석 처리
> 100.100.100.1 REJECT 처리
makemap hash /etc/mail/access < /etc/mail/access
systemctl restart sendmail
systemctl restart dovecot
칼리에서 마스터로 메일보내면 차단 메세지가 나타나면 성공
shop.st.kr > 워드프레스 기반 쇼핑몰
* 계정 생성
adduser \\\
cd /etc/bind/
nano st.kr.zone
\\\ IN A 125.246.95.152
systemctl restart named
systemctl restart apache2
cd /etc/apache2/sites-available/
nano hosting.conf
[VirtualHost *:80]
DocumentRoot /home/st/public_html
ServerName st.kr
ServerAdmin st@st.kr
ErrorLog /home/st/public_html/logs/error.log
CustomLog /home/st/public_html/logs/access.log combined
[/VirtualHost]
> 사용자 부분 수정하기
su \\\
chmod 777 $HOME
chomd 755 /public_html
암호강도를 높인 후 shop 계정 생성
nano /etc/login.defs
shop.st.kr > 워드프레스 기반 쇼핑몰
디렉토리 777 - 022 =755
파일 666 -022 =644
부팅시 마운트지점
/etc/fstab
/etc/passwd
/etc/login.defs
/etc/mail/access > sendmail 설치시 확인 가능함
공격의 시작
ping shop.st.kr (icmp/tcp/udp)
100.100.100.1 쉽게 노출
hping3 st.kr -S -i u50 -c 5
hping3 st.kr -a st.kr -S -c 100 -u 5
hping3 125.246.95.254 -a 125.246.95.254 -S -c 10
hping3 --flood --rand-source st.kr
nikto -host shop.st.kr >wordpress
wpscan --url shop.st.kr -U user.txt -P passwd.txt
공격을 성공시키기
공격 후에 대한 로그 확보
미션
shop에 대한 웹 파일과 데이터베이스 백업 후 관리자 피씨에 저장하기
cmd 창에서
ip config
ftp 10.0.2.15
shop
ls
cd public_html
ls
cd logs
dir
get access.log
미션
백업 파일로 복원작업 진행
복원 시스템 구축
step1
lapm설치
apt -y install lamp-server^
apt -y install php8.3-fpm
a2enmod proxy_fcgi setenvif
a2enconf php8.3-fpm
systemctl restart php8.3-fpm apache2
a2enmod userdir
일반 사용자 홈페이지 확인 가능함
http://XXX.XXX.XXX.XXX/~shop
step2
도메인 세팅(p522~p548 참고)
일반계정 홈페이지 작동시키기
1> 계정 추가전에
cd /etc/skel
mkdir public_html
cd public_html
mkdir includes
mkdir auth
mkdir logs
touch index.html
touch index.php
adduser st
step3
호스팅 세팅
nano /etc/apache2/site-available/hosting.conf
[VirtualHost *:80]
DocumentRoot /home/shop/public_html/wordpress
ServerName shop.st.kr
ServerAdmin shop@shop.st.kr
ErrorLog /home/shop/public_html/logs/error.log
CustomLog /home/shop/public_html/logs/access.log combined
[/VirtualHost]
a2ensite hosting
nano named.conf.default-zones
zone "st.kr" {
type st;
file "/etc/bind/st.kr.zone";
};
systemctl restart st.kr
nslookup st.kr
cp db.local st.kr.zone
chown root.bind st.kr.zone
nano st.kr.zone
;
@ IN NS ns.st.kr.
@ IN A 192.168.0.208
ns IN A 192.168.0.208
www IN A 192.168.0.208
shop IN A 192.168.0.208
systemctl restat named
su shop
cd
chmod 777 $HOME
chomd 755 /public_html
systemctl reload apache2
mysql
CREATE DATABASE shop;
CREATE USER 'shop'@'localhost' IDENTIFIED BY '123456';
GRANT ALL PRIVILEGES ON shop.* TO 'shop'@'localhost';
FLUSH PRIVILEGES;
step4
백업 받은 파일은 백업서버로 이전
압축 해제 tar zvzf 파일명
cd /home/shop/public_html
XXX.sql 파일은 복원
create database shop;
create user shop@localhost identified by '123456';
grant all on shop.* to shop@localhost;
flush privileges;
mysql -u shop -p < shop.sql
복원 작업 끝~