UTM9 설치
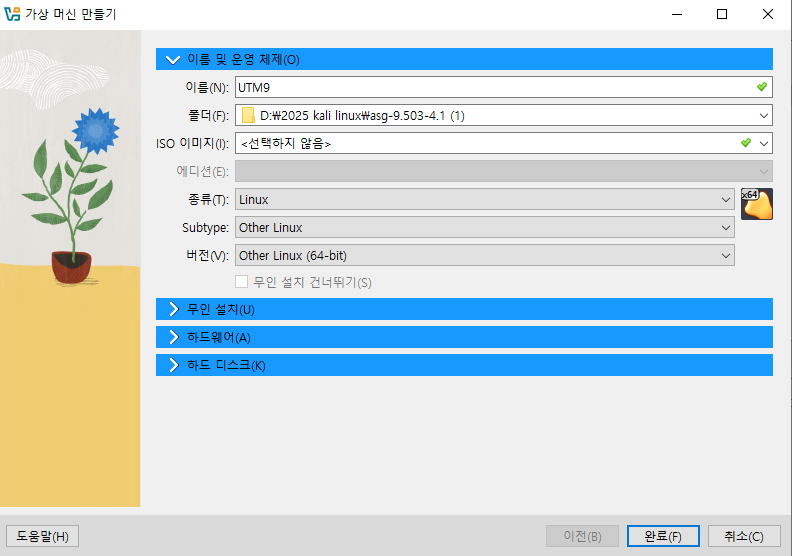 -사진과 다르게 폴더는 D:VM, ISO이미지 잘 넣어주기
Linux, Other Linux
-사진과 다르게 폴더는 D:VM, ISO이미지 잘 넣어주기
Linux, Other Linux
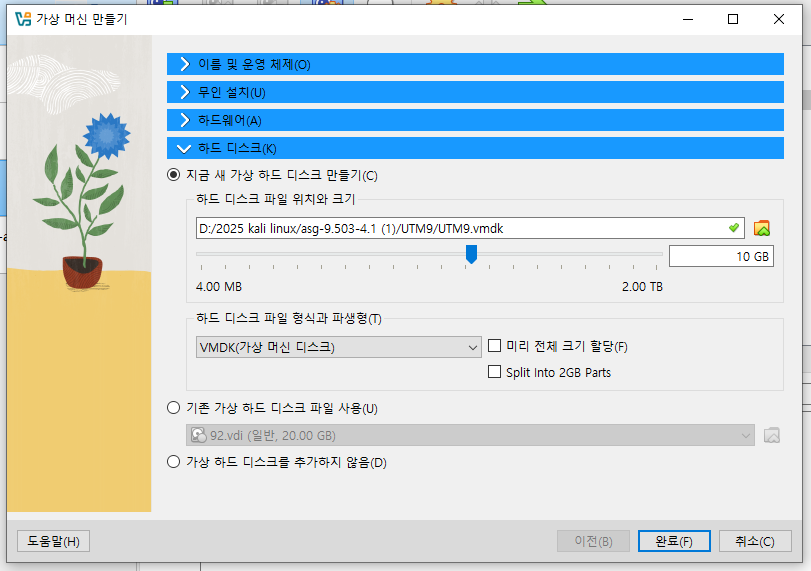 10GB, VMDK(가상 머신 디스크)변경
4개의 어댑터를 만들어야한다.
어댑터1은 호스트 전용 어댑터 VirtualBox Host-Only Ethernet Adapter, 케이블 연결됨
다운로드 받아준다
10GB, VMDK(가상 머신 디스크)변경
4개의 어댑터를 만들어야한다.
어댑터1은 호스트 전용 어댑터 VirtualBox Host-Only Ethernet Adapter, 케이블 연결됨
다운로드 받아준다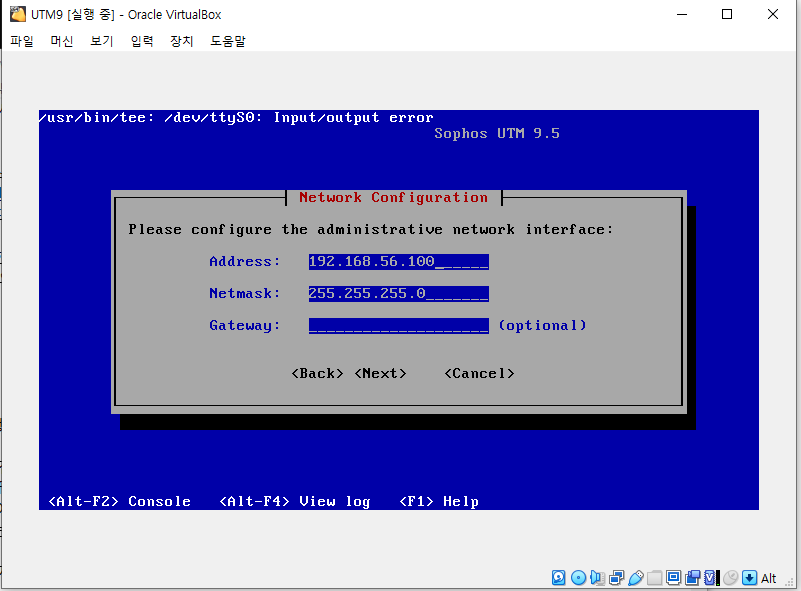
-사진과 다르게 폴더는 D:VM, ISO이미지 잘 넣어주기
Linux, Other Linux
10GB, VMDK(가상 머신 디스크)변경
4개의 어댑터를 만들어야한다.
어댑터1은 호스트 전용 어댑터 VirtualBox Host-Only Ethernet Adapter, 케이블 연결됨
다운로드 받아준다
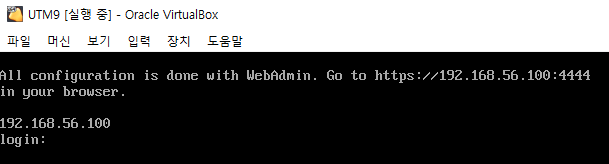
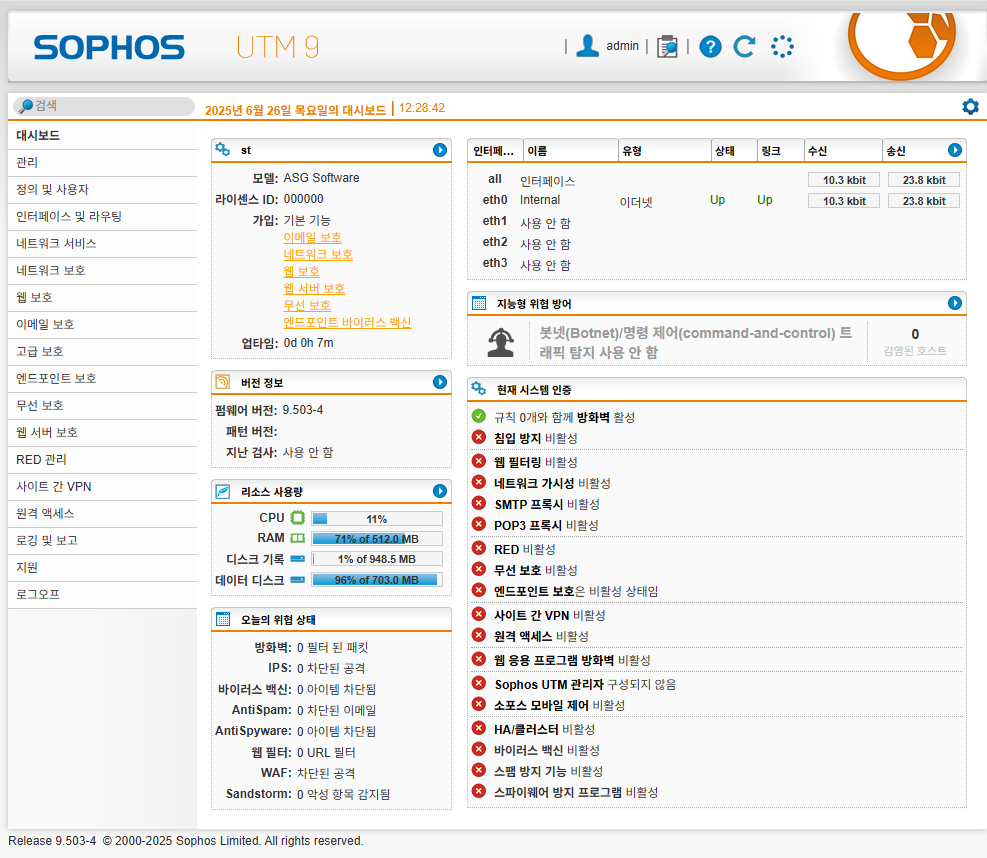
UTM9 인터페이스가 eth1,eth2,eth3가 사용 안함으로 설정된 것을 볼 수 있다.
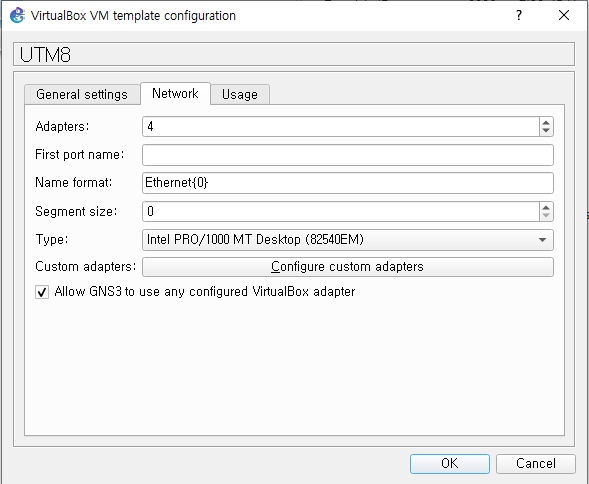
 VirtualBox VM template configuration에 접속하여 Adapters: 4로 변경해준다
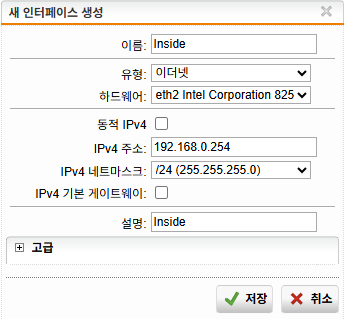
 새 인터페이스들을 생성해준다
1. Inside
새 인터페이스들을 생성해준다
1. Inside
 2. DMZ
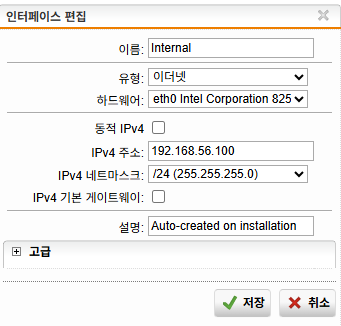
 3. Internal
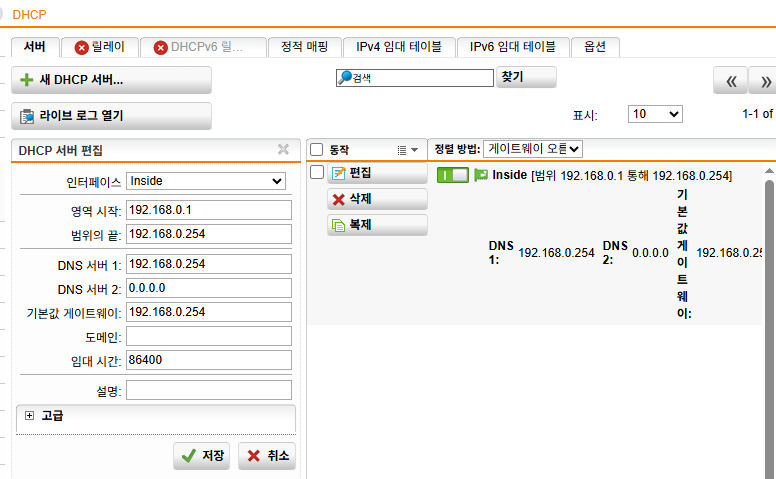
 DHCP 설정해준다
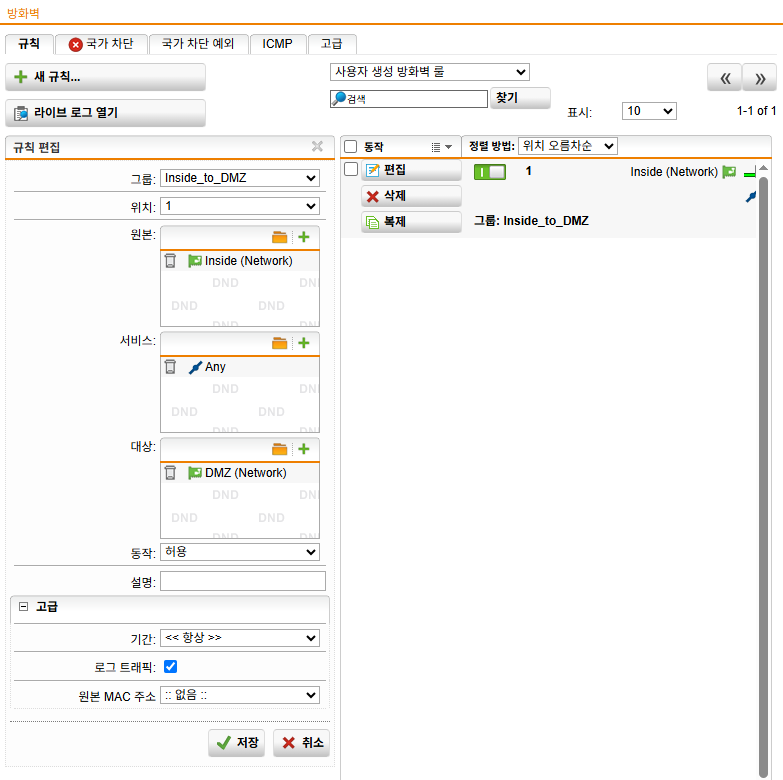
 방화벽을 설정해준다
1.Inside_to_DMZ
방화벽을 설정해준다
1.Inside_to_DMZ
 2. Any_to_Outside
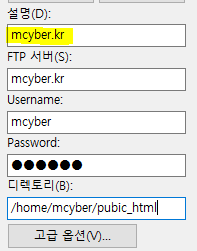
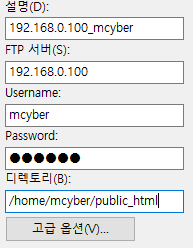
 EditPlus의 FTP설정에서 IP주소와 , 도메인 주소 둘다 설정해준다
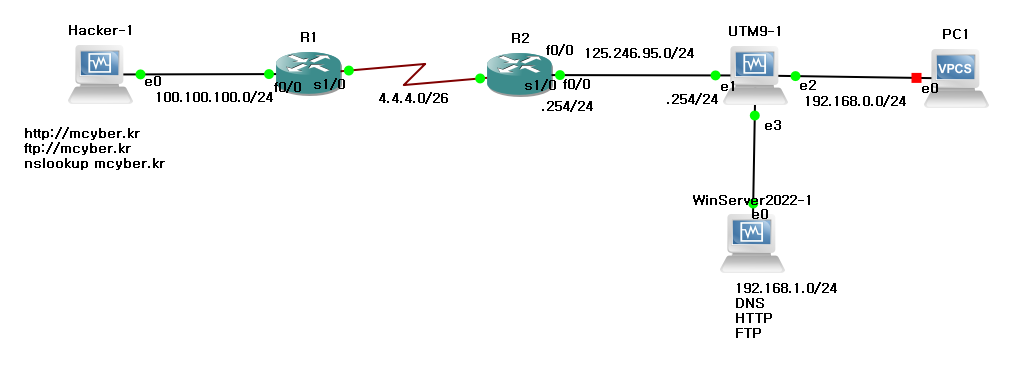
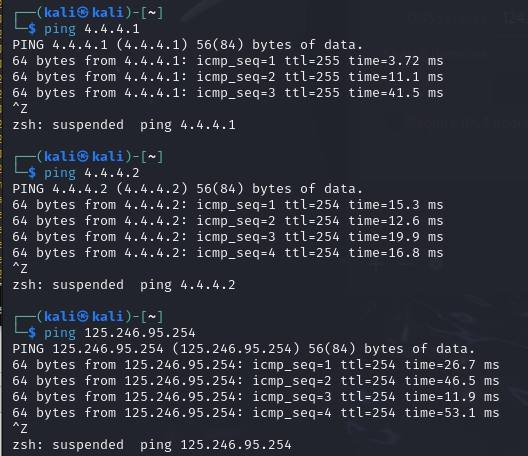
UTM9-1의 왼쪽 Hacker-1, R1, R2를 연결시켜준다
[R1한방설정(OSPF)]
config t
interface FastEthernet0/0
ip address 100.100.100.254 255.255.255.0
no shutdown
exit
interface Serial1/0
ip address 4.4.4.1 255.255.255.192
no shutdown
exit
router ospf 1
network 100.100.100.0 0.0.0.255 area 0
network 4.4.4.0 0.0.0.63 area 0
router-id 1.1.1.1
exit
ip dhcp excluded-address 100.100.100.1 100.100.100.254
ip dhcp pool hacker
network 100.100.100.0 255.255.255.0
default-router 100.100.100.254
dns-server 125.246.95.152
lease 1 0 0 !
exit
[R2한방설정(OSPF)]
config t
interface FastEthernet0/0
ip address 125.246.95.254 255.255.255.0
no shutdown
exit
interface Serial1/0
ip address 4.4.4.2 255.255.255.192
no shutdown
exit
router ospf 1
network 125.246.95.0 0.0.0.255 area 0
network 4.4.4.0 0.0.0.63 area 0
router-id 2.2.2.2
exit
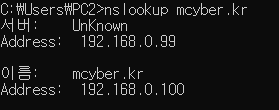
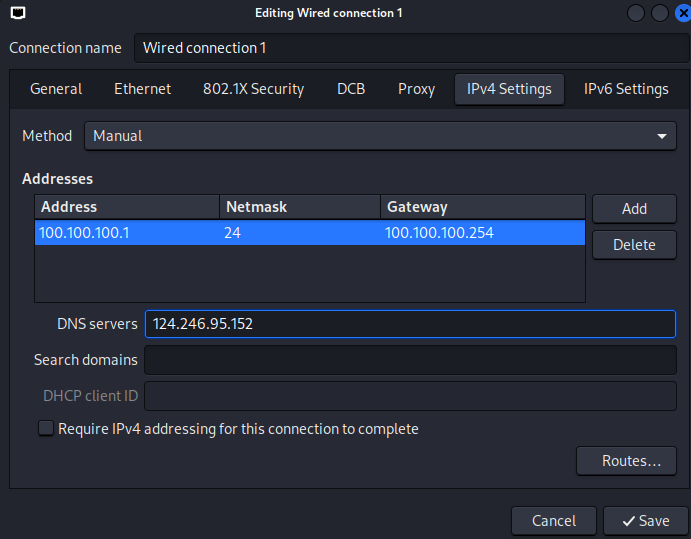
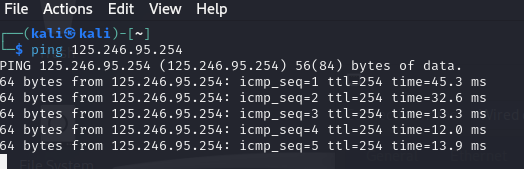
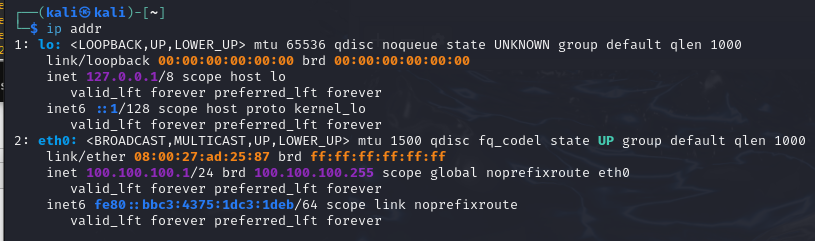
칼리에서 IP를 설정해준 후,확인작업을 한다
1. 전원을 킨 후 Delete+f2를 눌러서 설정으로 들어간다.
2. sandisk설정 후 다운로드 화면이 뜨면 Alt+f2에 접속해서
3. "mount /dev/sdc1/ install"명령어 입력 후 다운로드받는다. (나오는건 Alt+f1)
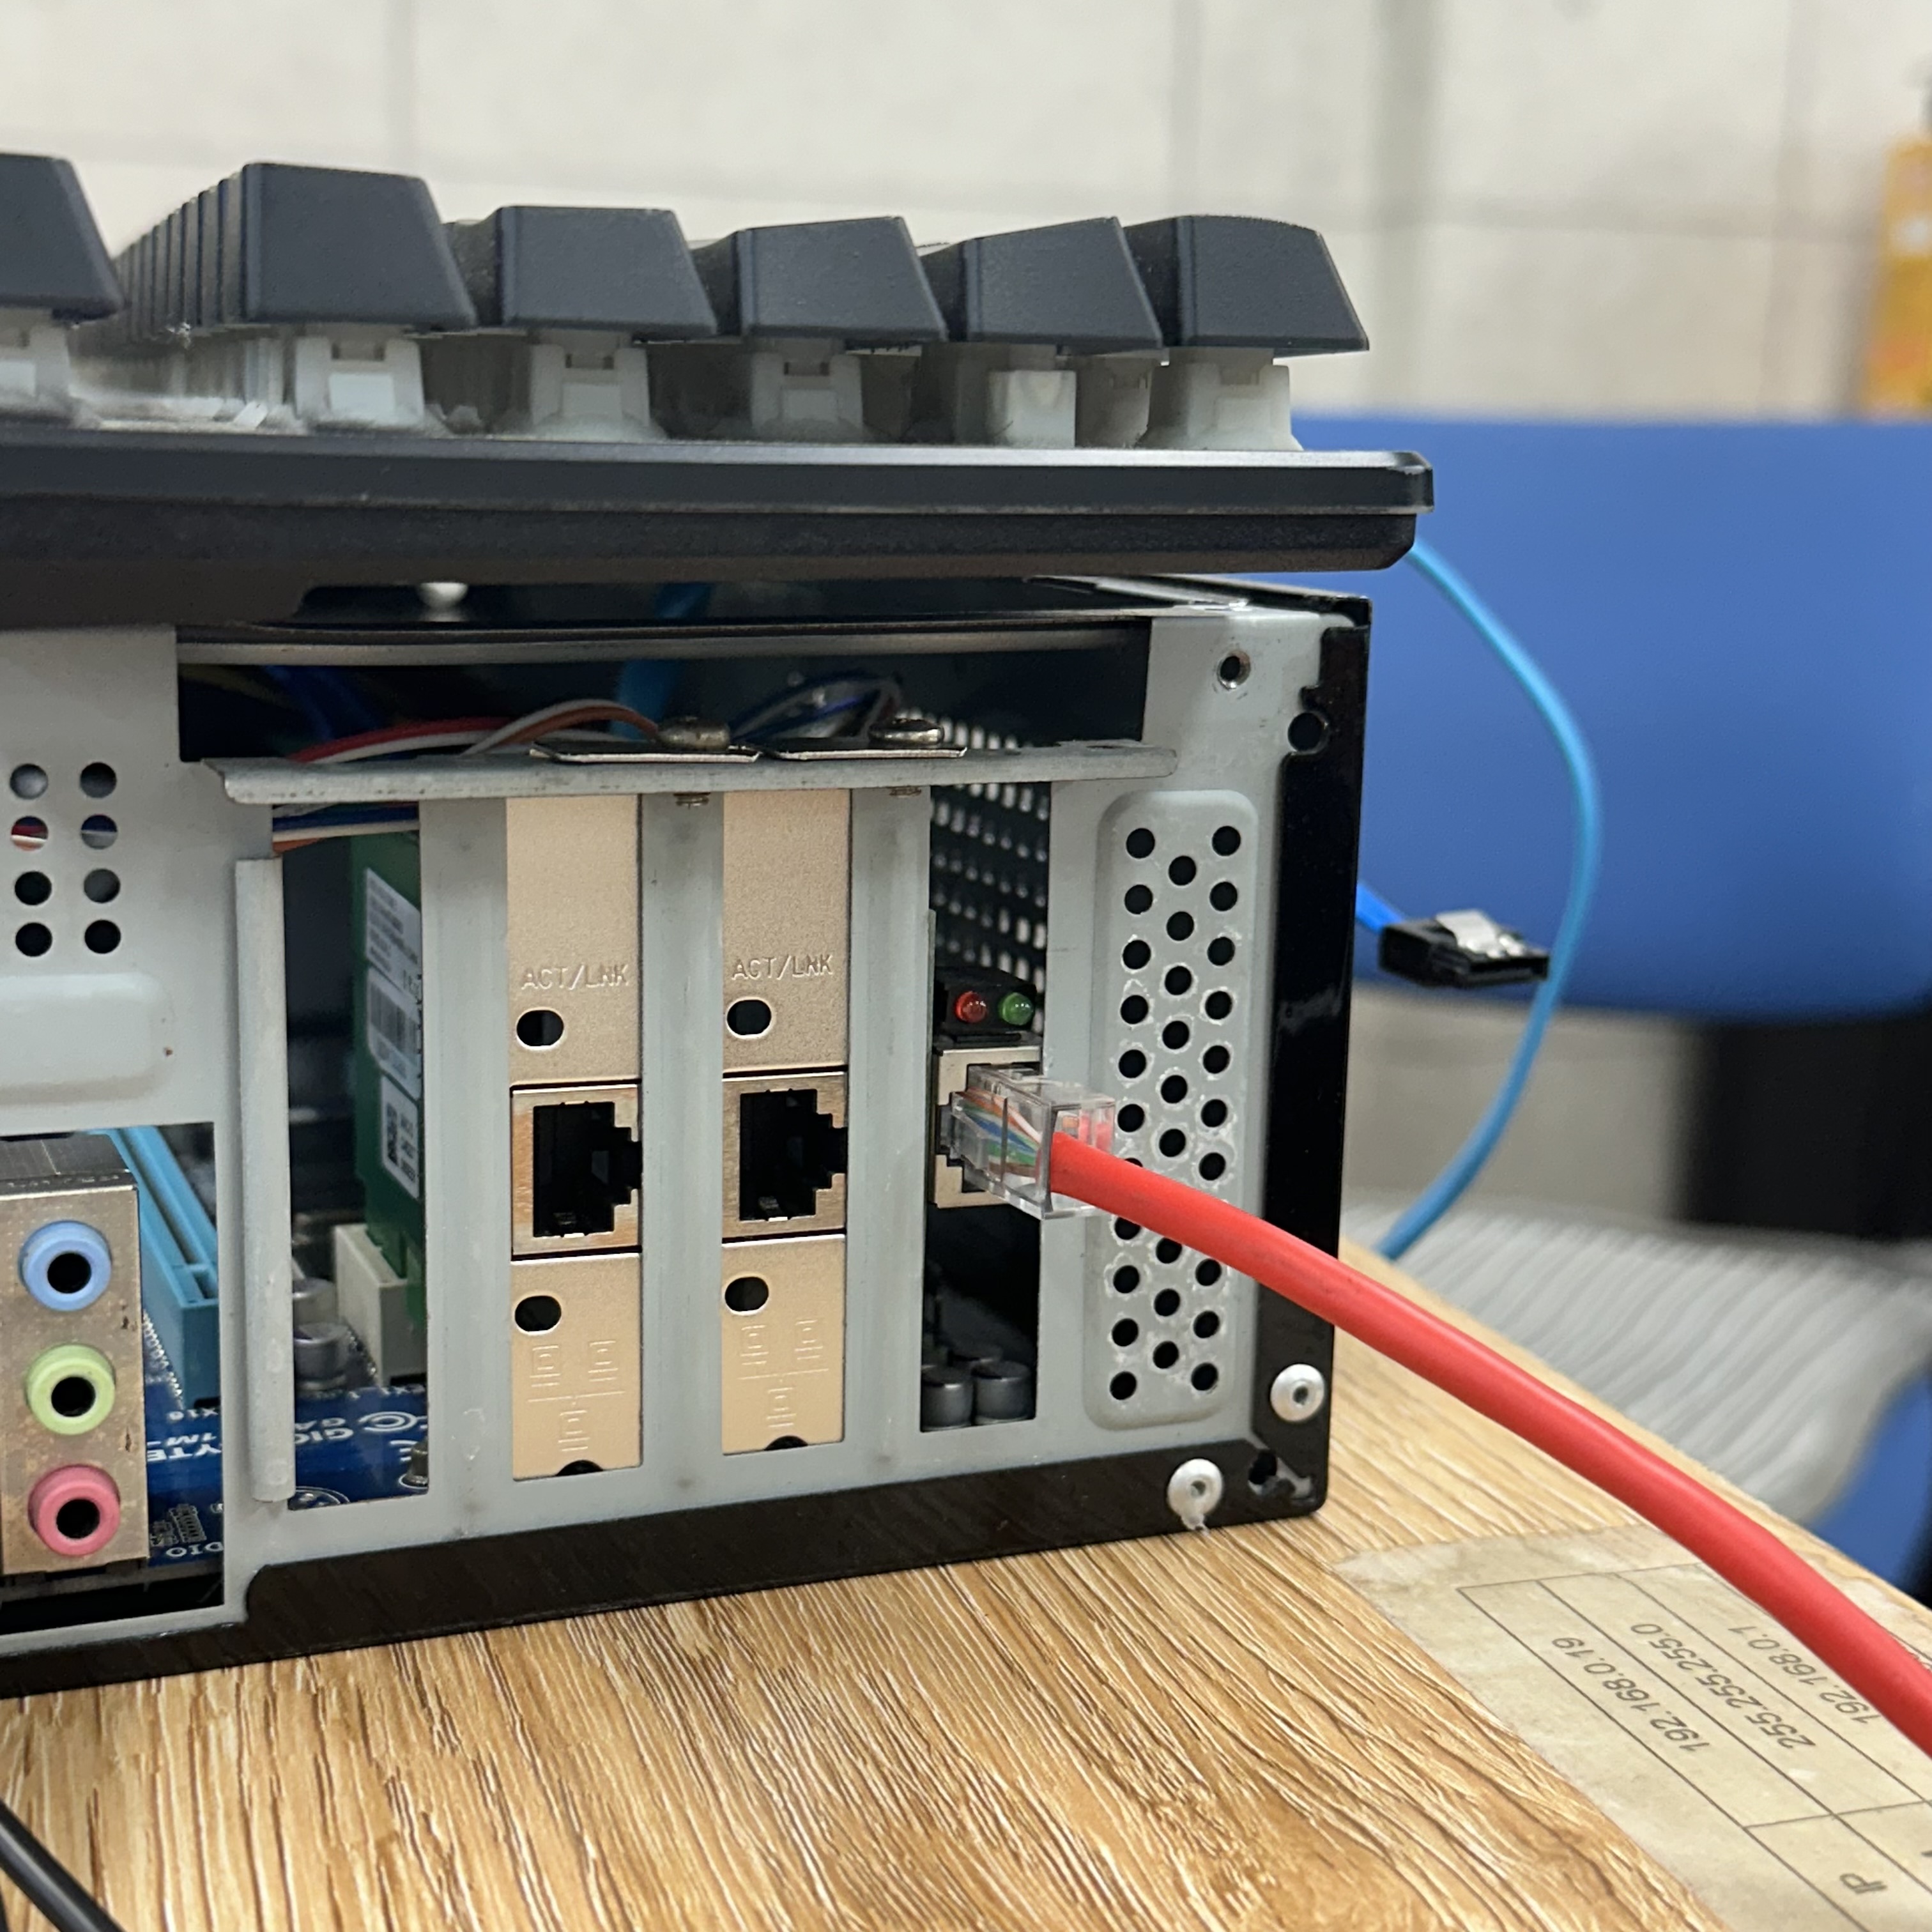
4. 실습기기를 보면 랜포트가 4개인걸 확인할 수 있다
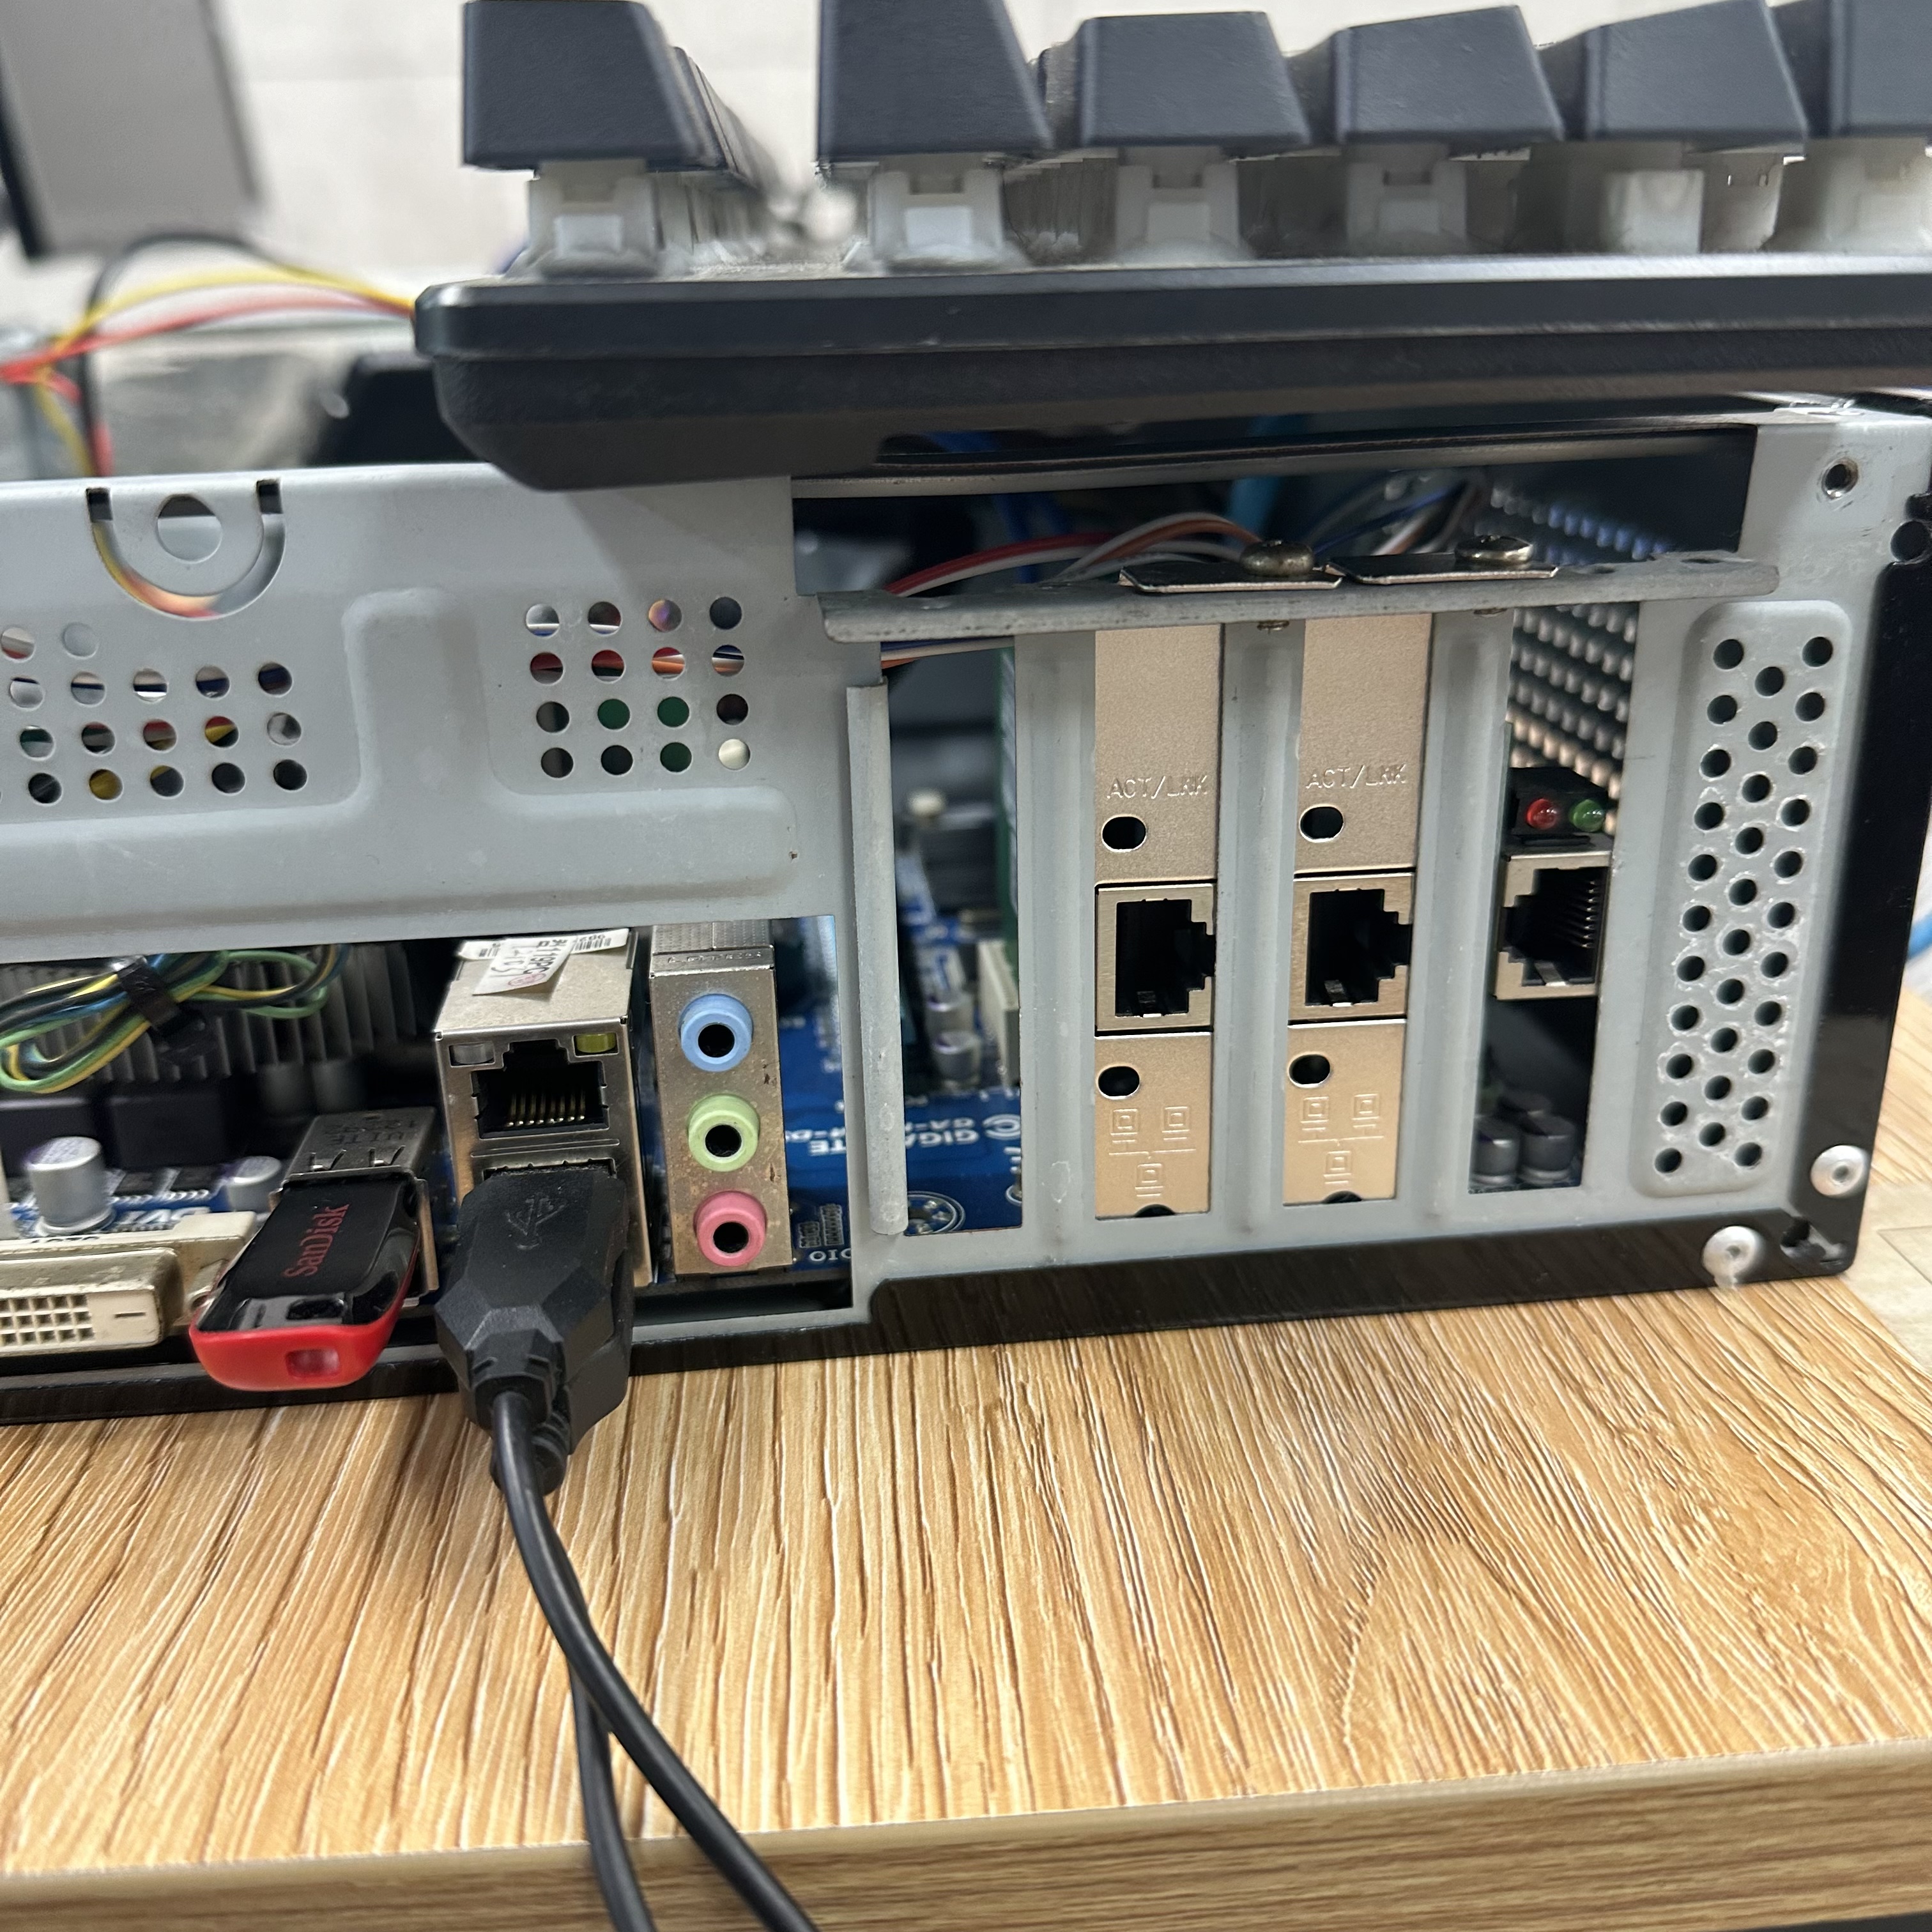 + A,B,C(꽂힌 장비)까지 총 3개다
 5. 다운로드 후 ping 192.168.2.100 을 하나씩 꽂아가면
eth0을 찾는다.
5. 다운로드 후 ping 192.168.2.100 을 하나씩 꽂아가면
eth0을 찾는다.